This month, my posts are focusing on my productivity tools.
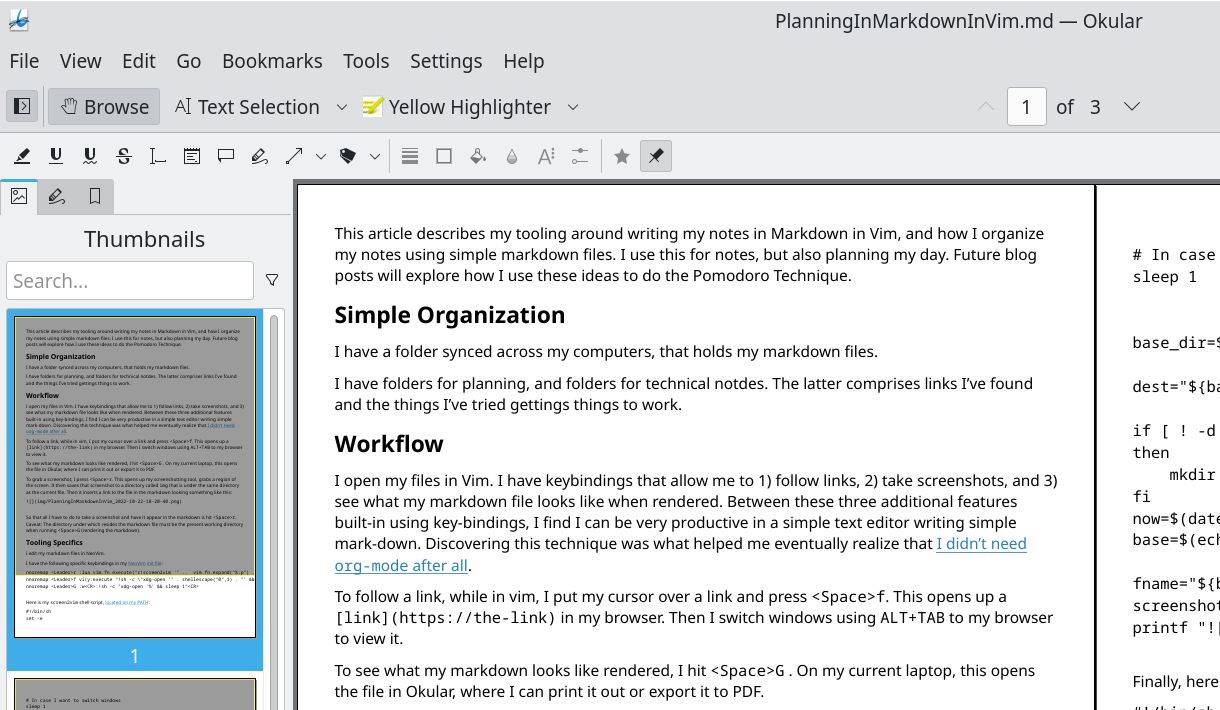
This article describes my tooling around writing my notes in Markdown in Vim, and how I organize my notes using simple markdown files. I use this for notes, but also planning my day. Future blog posts will explore how I use these ideas to do the Pomodoro Technique.
Simple Organization
I have a folder synced across my computers, that holds my markdown files.
I have folders for planning, and folders for technical notdes. The latter comprises links I've found and the things I've tried gettings things to work.
Workflow
I open my files in Vim. I have keybindings that allow me to 1) follow links,
2) take screenshots, and 3) see what my markdown file looks like when
rendered. Between these three additional features built-in using key-bindings,
I find I can be very productive in a simple text editor writing simple
mark-down. Discovering this technique was what helped me eventually realize
that I didn't need org-mode after
all.
To follow a link, while in vim, I put my cursor over a link and press
<Space>f.
To see what my markdown looks like rendered, I hit <Space>G . On my current
laptop, this opens the file in Okular, where I can print it out or export it
to PDF.
Here is a shot of what this blog post looks like rendered by Okular:
To grab a screenshot, I press <Space>r. This opens up my screenshotting tool,
grabs a region of the screen. It then saves that screenshot to a directory
called img that is under the same directory as the current file. Then it
inserts a link to the file in the markdown looking something like this:

So that all I have to do to take a screenshot and have it appear in the markdown
is hit <Space>r. Caveat: The directory under which resides the markdown file
must be the present working directory when running <Space>G (rendering the
markdown).
Tooling Specifics
I edit my markdown files in NeoVim.
I have the following specific keybindings in my NeoVim init file:
nnoremap <Leader>r :lua vim.fn.execute("r!screen2vim '" ..  vim.fn.expand("%:p") .. "' 'img'")<CR>
nnoremap <Leader>f vi(y:execute "!sh -c \"xdg-open '" . shellescape(" 0",1) . "' && sleep 1\""<CR>
nnoremap <Leader>G :w<CR>:!sh -c "xdg-open '%' && sleep 1"<CR>
Here is my screen2vim shell script, located on my
PATH:
#!/bin/sh
set -e
# In case I want to switch windows
sleep 1
base_dir=$(echo "${1}" | sed -e 's|/[^/]*$|/|g')
dest="${base_dir}/${2}"
if [ ! -d "${dest}" ]
then
mkdir -p "${dest}"
fi
now=$(date '+%Y-%m-%d-%H-%M-%S')
base=$(echo "${1}" | sed -e 's|[^/]*/||g' -e 's| |_|g' -e 's|\.md$||')
fname="${base}_${now}.png"
screenshot-region "${dest}/${fname}"
printf ""
Finally, here is my screenshot-region
script,
which supports Mac, KDE, and Non-KDE Wayland:
#!/bin/sh


if [ -z "${1}" ]
then
    clipboard=1
else
    clipboard=0
fi

if which spectacle >/dev/null 2>&1
then
    if [ "${clipboard}" -ne 0 ]
    then
        spectacle -n -r -b -c
    else
        spectacle -n -r -b -o "${1}"
    fi
elif which screencapture >/dev/null 2&>1
then
    if [ "${clipboard}" -ne 0 ]
    then
        screencapture -i -c
    else
        screencapture -i "${1}"
    fi
elif which grim >/dev/null 2>&1
then
    if [ "${clipboard}" -ne 0 ]
    then
        grim -g "$(slurp -d)" - | copy
    else
        grim -g "$(slurp -d)" "${1}"
    fi
fi
It's the simple things
Sometimes all it takes is a few simple lines of a little extra configuration to make a simple tool good enough to replace a much heavier one. I can use Vim instead of MS OneNote or a big planner application. I appreciate that.